Rubicon Games Development
Rubicon Development is a BAFTA-nominated independent game developer of some renown. We have been developing and selling cutting edge games directly to you, the public, for many years now and with some success. If you are an existing customer, thank you for making that possible.

Our mission statement is a simple one - develop a wide variety of titles and ensure they're all 'best in class'.
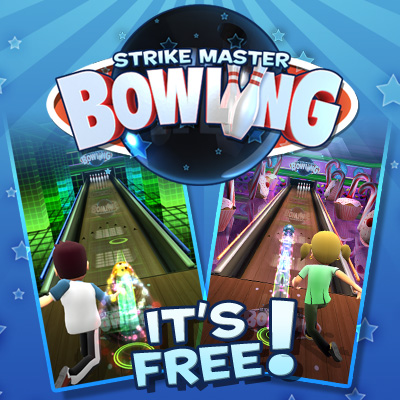
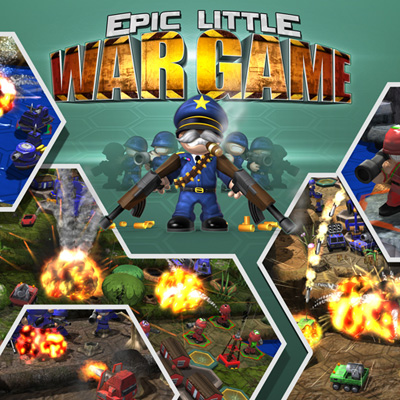
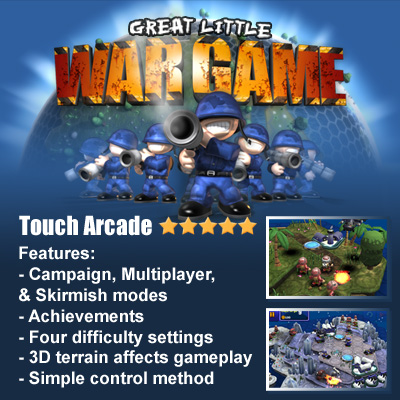
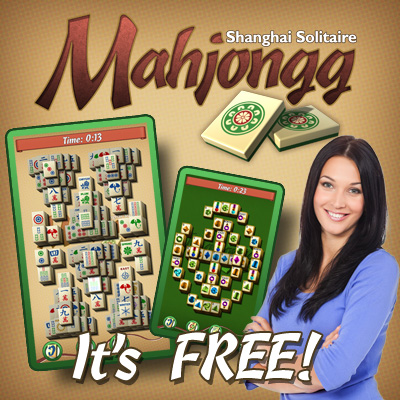
Click the banners below to find more about our games.